This has recently become a very popular work in our classroom. The kids can use markers (combined with stickers) to draw a picture in the top section of the paper. Then they bring it to me and tell me what to write. It is absolutely adorable to watch their stories unfold. I use a lot of prompts such as "and then what did they do?" or "so what do you think they saw?" to help them out sometimes. But most of the time they don't even need my help to create something that is truly theirs!
Monday, December 30, 2013
Work Time: The Hundred Board
The Hundred Board is one of the most challenging works in the classroom...which is why the kids LOVE it! They love the opportunity to challenge themselves. There are one hundred little tiles, each with a number 1 to 100. Then they have to place each tile on the right number.


It often turns into a group effort (which I love)
And it is so fun to see how excited they are when they finish. They realize that they can do hard things!!Squeeze Art
This was another fun art exploration activity. We cut out Christmas trees and folded them in half. Then we put small drops of various colors of paint onto one side of the tree. Then the fun began! The kids had a great time just squeezing the tree in order to spread the paint around.
Add some glitter, and...Aren't they so fun?!! I felt bad sending home something covered in glitter (since we all know it just ends up all over the house), so I ended up laminating them before sending them home- which really brought out the colors. So cute!!
Rag Painting
This was the first step in creating our Christmas Art Project. We needed to paint the canvas blue and it just seemed like a fun excuse to explore painting with different mediums...like old rags. Who needs paint brushes? This was WAY more fun, and gave it a very cool look.
Work Time: 3 Period Lessons
The 3 PERIOD LESSON is a fundamental piece of Montessori lessons. This is where we focus on and teach individual letters or numbers (but it also works for colors, shapes, etc). We start by introducing the letters that we will be working with.
Step One: I say, "This is G" and I have the child repeat after me.
Step Two: Once each of the letters has been introduced, I say "Where is W?" This is the step that can stretch out as long as needed. Often, I will have the child hand me the letter, or turn it over, or hide it somewhere in the classroom. It is just a chance to reinforce the letter with the child.Then Step Three: I point to a letter and say "What is this?" Then the child will say "G". If they have problems remembering the letter, we will either repeat Step Two or work on the letters they don't know next time.
It is a wonderful way to teach children at their level and one of my favorite aspects of Montessori. :)
Work Time: Counting Bead
This is DEFINITELY one of the most favorite works for the kids. We call it our BEAD COUNTING work. It is a great way to incorporate so many different facets of learning. First, the kids choose whether or not they want to count 10, 20 or 30 beads (I often will help the kids choose based on what they are working on)
Then they choose beads. This is a great SENSORIAL activity. As they get older, it's fun to watch them make patterns or choose their favorite colors. Then comes the PRACTICAL LIFE aspect, where they work on their fine motor control (putting the beads on the necklace isn't as easy for young kids as it looks). Then comes MATH...before I will tie up the necklace, they have to count the beads for me. And they LOVE it. It gives the kids daily practice counting up to 30. Let's be honest, with so many wonderful ways to incorporate learning into just one work...it's one of my favorite works too!!
Wednesday, December 4, 2013
Christmas Countdown Chain
This was a wonderful activity that not only included object counting (we needed 21 links) and fine motor development (making each paper into a circle)...but it created some serious Christmas Excitement!! :)
Schnepf Farms Field Trip
For our fall field trip, we all met up at Schnepf Farms. It was a first time for me, and I was very impressed. The kids had so much fun picking vegetables straight from the garden,
(one of our adorable little girls even managed to pick one of each color!!),
petting real goats (including this little baby goat!),
going for a hay ride, and so many other wonderful things.
It was such a fun & wonderful day! I loved it all!! Hopefully the kids did too ;)
Footprint Corn
I am a total sucker for anything that involves a foot or hand print. So, when I saw a footprint corn- I juts knew it HAD to be part of our Farm Unit. Just yellow paint, and green paper! How easy is that?! It also led to a very fun discussion on all the wonderful corn products we use. I'm pretty sure the only one the kids came up with on their own was POPCORN. And who could blame them...popcorn is definitely among the best corn products EVER!!
A Hatching Chick
We started our Farm Unit! Yay! The kids ALWAYS love any unit that has to do with Farm Animals...and ends in a field trip. This is our little chick hatching out of an egg. We glued down the chicks first and then covered them with the eggs. I had cut out the center of the egg, making it easier for the kids to rip the paper (giving it that adorable cracked egg look). Then we used cut pieces of brown paper to make little nests on the bottom. I think the part the kids loved most, was making little chirping sounds...THE WHOLE TIME! It was just too cute!!
Spider Party
Since everything is better with a Theme...I decided to do SPIDERS this year for our Halloween party. These cute spider hats and our mini spider pumpkins are just a couple of the fun things we did! I used a push pin to push holes into the pumpkins to make it easier for the kids to get the pipe cleaner legs in. Then I glued the googly eyes onto some flat push pins, which made it much easier for the kids to push in themselves. I LOVE how so many of the pumpkins only got painted on top. So cute!!
Monster Cookies
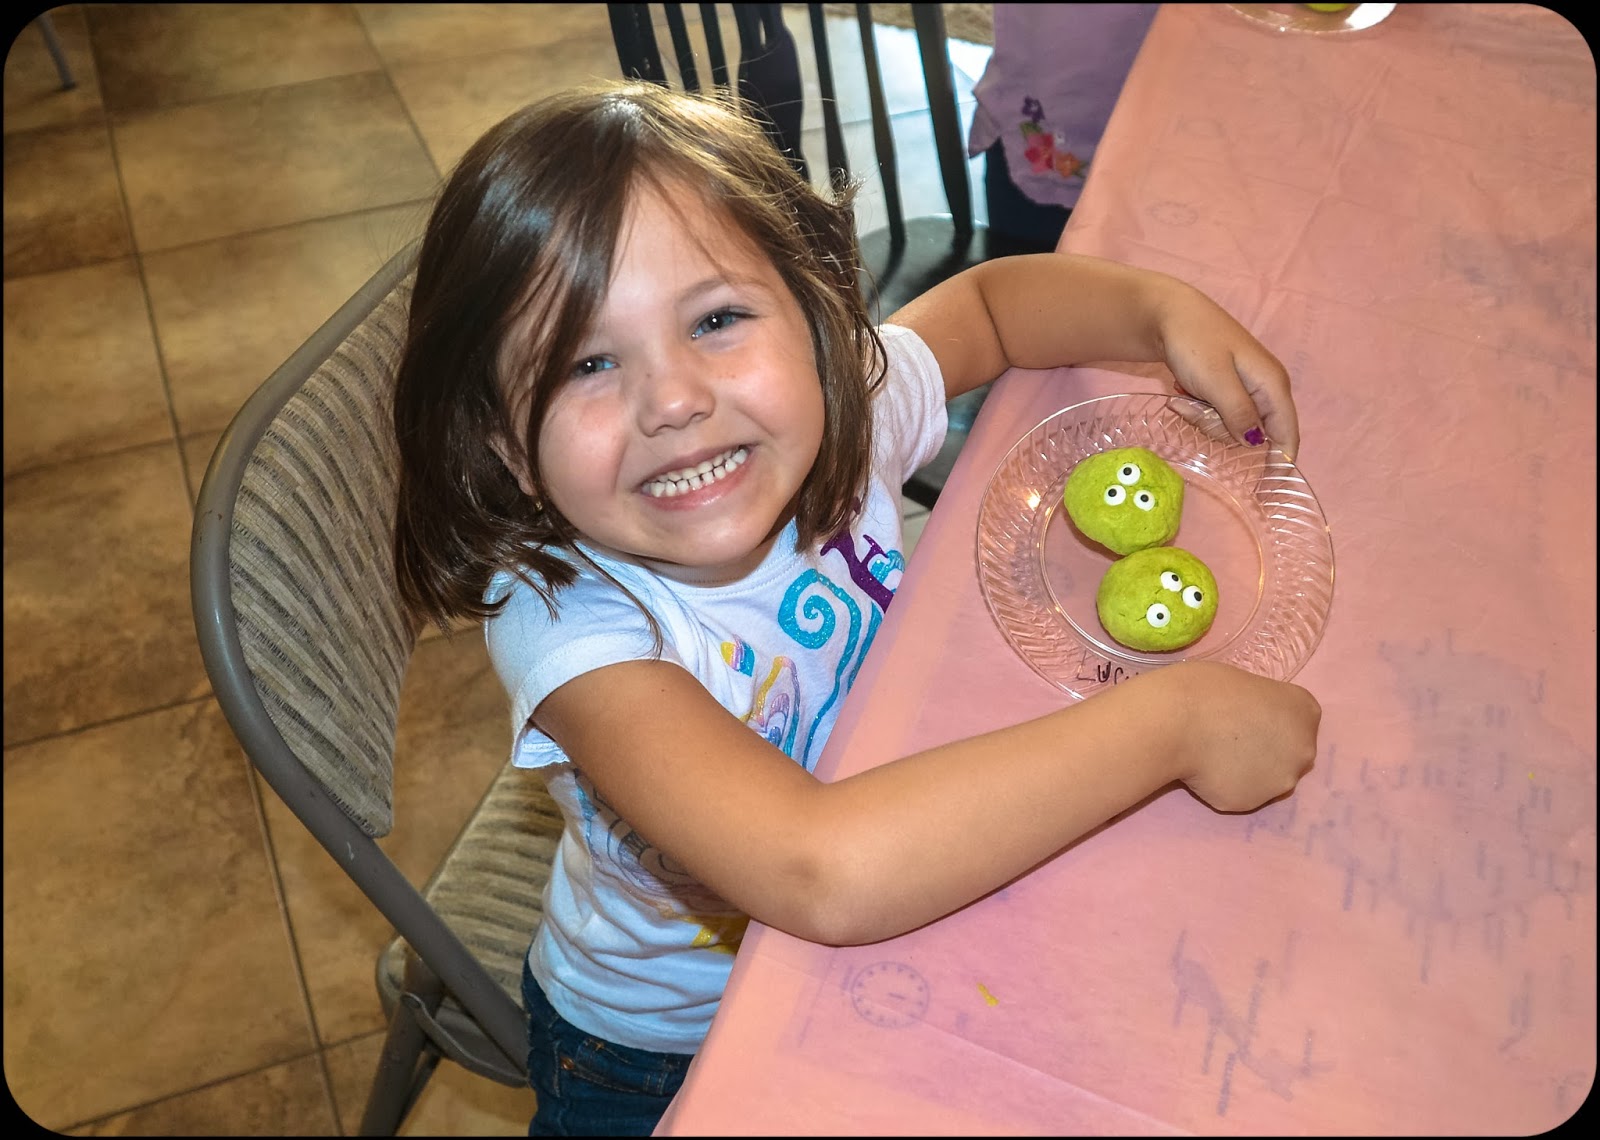
I found these on a friend's blog, along with her recipe for the cookie itself. They were AMAZING!! The kids really enjoyed making these, and rolling them into balls before we baked them. Such a simple way to improve fine motor development. Their hands were all sticky and covered in cookie...but they definitely didn't mind! And thanks to a package of edible eyes, the cookies were not only cute- but absolutely delicious!
Candy Pumpkin Necklaces
Since my preschool kids LOVE making beaded necklaces, I thought that it would be fun to switch things up and make a necklace using CANDY PUMPKINS! Which is MUCH easier said than done. I went through many a broken pumpkin before my wonderful husband suggested drilling the holes. Yep! Using an electric drill. We super sanitized the drill bit and crossed our fingers. Sure enough, it worked like a charm. We had finally made holes big enough to push the plastic string through. And the best part was how excited my ten year old son was to get to do the drilling. :)
It took some concentration, but the kids quickly got the hang of it. And, of course, there were a few misshapen holes (which were quickly remedied with a large sewing needle). We added some pre-tied ribbons, just to make it cuter!
And...look how CUTE!! Such a perfect way to compliment their collections of beaded necklaces! :)
Candy Corn Feet Prints
To kick off the very fun Halloween season, we did CANDY CORN FEET PRINTS. The kids always enjoy how it "tickles" to have their feet painted. I also have done a ghost version of this activity, which also turned out super cute. Just be sure to have LOTS of wipies on hand!! :)
An Exploration In Colors...and Cooking
I thought that it would be fun to combine color mixing with the cooking of something delicious. So I made up a batch of cupcakes, and had each child assigned to one cup of batter. Then, we added food coloring. Each of the kids got to decide which combination of RED, YELLOW, and/or BLUE that they wanted to use in their cupcake. They had so much fun mixing the batter to find out what color it would turn. And, of course, they had even MORE fun EATING the colorful batter! Definitely a big hit!
Tuesday, September 17, 2013
COLORS: Marble Painting
This was such a fun project that we did in order to explore how colors change when mixed together. We started with yellow, red & blue paint and then let the marbles do the rest! Who knew marbles could be so fun!! :)
Monday, September 16, 2013
Parent Teacher Conferences
Here is the list of our upcoming Parent-Teacher conferences. Please be here around 11:45 (once carline is done). Of course, kids and siblings are welcome to come too!! Come ready with any questions and concerns...this is YOUR time!! :)
Tuesday, Sept. 17th HALEY
Wednesday, Sept. 18th SOFIA
Thursday, Sept. 19th MORGAN / ELIZA
Friday, Sept. 20th BRYNN
Monday, Sept 23rd LANDON
Tuesday, Sept. 24th ZACHARY
Wednesday, Sept. 25th SONYA
Thursday, Sept. 26th LUCY
Friday, Sept. 27th RIGLEY
If you need to change or adjust your day / time, just let me know!! Thanks so much for being such WONDERFUL parents. I can't wait for some one-on-one time to help me get to know you better!!
Our New Prize Jar
Also, the prize jar can be used to reward positive behavior in the classroom. This could range from participating in music class to asserting themselves in helping another child. I believe that positive recognition of social and academic growth helps to foster in each child the confidence and desire to make good choices and build strong learning habits.
SEASONS: An Arizona Snowman
Today we talked about WINTER. And, unfortunately, winter in Arizona isn't quite the same as other places. It was hilarious to find out that most of the kids have never actually seen REAL SNOW! So, we made an ARIZONA SNOWMAN...nothing but melted snow (or in this case, dried glue).
And embracing the abstract (because really, a melted snowman is just one big mess!)...
I can't wait to see how they look when the glue dries and turns from white to clear! Such a fun art project!!
Subscribe to:
Posts (Atom)